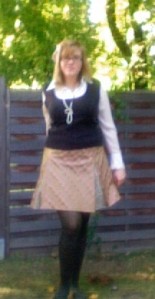
So I wanted to make this skirt:
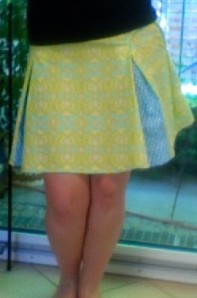
But I didn’t want to spend fifteen dollars on a pattern, having a huge pile of previously bought fabric, and things and having no money to buy it. So I asked my mom, because she’s been sewing for… well…. a while. And I just started up again. So last night together we created a way to make this skirt, except I took off the contrast fabric at the bottom, and we created this prototype:
So then this morning I set out to make the skirt I had wanted to make in the first place, here is how I did it:
You will Need: about 2 ½ yards of your main fabric about 1 yard of contrast fabric a 6 inch invisible zipper chalk a ruler an ironFirst I created a pattern, using freezer paper. Measuring approximately what size the panels needed to be etc. Leaving plenty of room in case I botched it.
I decided on 6″ side panels, with the front and back panels being double (on the fold) Measure your own waist and how high and long you want it to make the pattern pieces the correct measurement. This fits me a bit loosely when its finished, but taking it in is no problem. My waist is 34″ when I’m not trying to have good posture. Cut two on the fold, and two off the fold of the pattern piece.
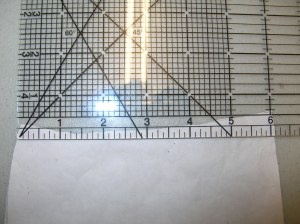
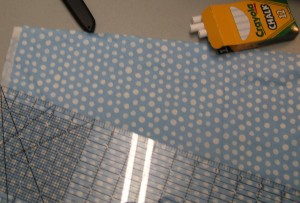
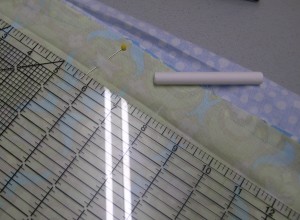
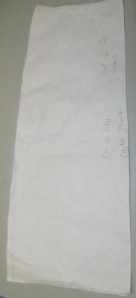 In order to measure fabric for the pleats I used a ruler to measure how wide the top of the pleats should be, marking it with chalk, for the front it was about 4 inches, and for the back around 3. Why did I do this you ask? because unlike the lass in the picture I am not a size zero and I have a rather rotund bottom. If the pleats in the back are smaller it is more flattering to a larger size. After you measure the top width, you use the ruler to create an angle from the edge of the marked area for the top(don’t forget to leave your fabric folded but don’t cut it on the fold). That way you have two identical yet opposite pieces, for the front and then again for the back. Mark with chalk using the straight edge and cut.
After this is all finished it is time to assemble the pieces for sewing. I did the front, then the back, then sewed the pieces together.
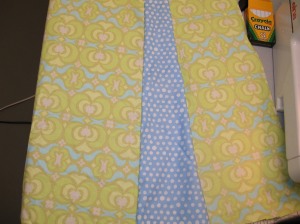
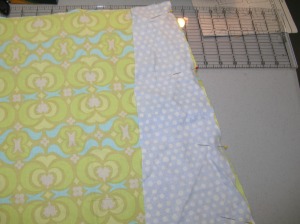
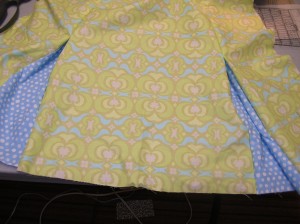
You start by pinning one of the pleat fabrics to one of the panels. You can do it in any particular order for front and then back. But don’t mix up the pleats, as they are different. Sew just a normal line to sew the pieces together. Continue until both sides are completed. It should look like this at this stage:
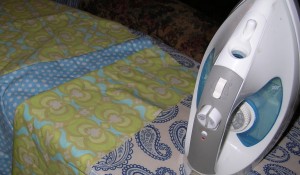
 After this its time to get out the iron. In order to do the pleats you MUST IRON. Don’t try to skip this step. It will not work. Fold your main fabric over onto the contrast fabric so that a little bit is on the underside of the fold. Iron the line. Next bring both sides center so that each fold is touching each other, folding the contrast fabric instead of the base. Iron the line.
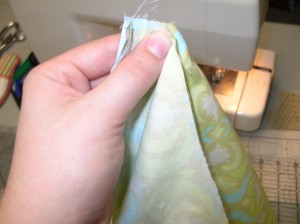
Then comes a tricky part, matching up the iron lines, pinch the back folds of the fabric and pleat, pinning the correct line in place. like so
 Measure how far down you want the pleats to start (where you can see the contrast fabric, these are called dropped pleats…) for the front I did five inches from my natural waist, and for the back I did eight. Again, making the pleats smaller in the back is more flattering for larger sizes. Mark with chalk, pin the fabric until the point of the chalked line.
At this point go back to the machine and sew each of the pleats to the measured chalk line, ending there. Backstitch (duh). Do the same for each of the pleats. When this is done sew down the back of the pleats at the top so that they stay the way you want.
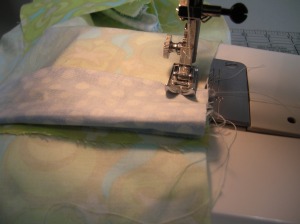 After this it’s time to sew the sides together, using the remnants of your base fabric, create band, of equal width to go around the waist, sew front sides together, and iron. fold and iron a small amount of fabric at the bottom of the skirt, fold over one more time, iron and sew. This will make it look more finished.
CUT YOUR THREADS AND IRON!
To make adjustments, take in at the side panel not involving the zipper or a pleat. Wear and enjoy!
 Have fun with it folks! Hope you enjoyed.
Have fun and sew on comrades!
Sincerely,
Abby

Wow, well done! That’s very impressive!
I have looked alllllllllllllll over the web for a simple tutorial. THIS JUST MADE MY DAY!!!!! Thank you for posting this!